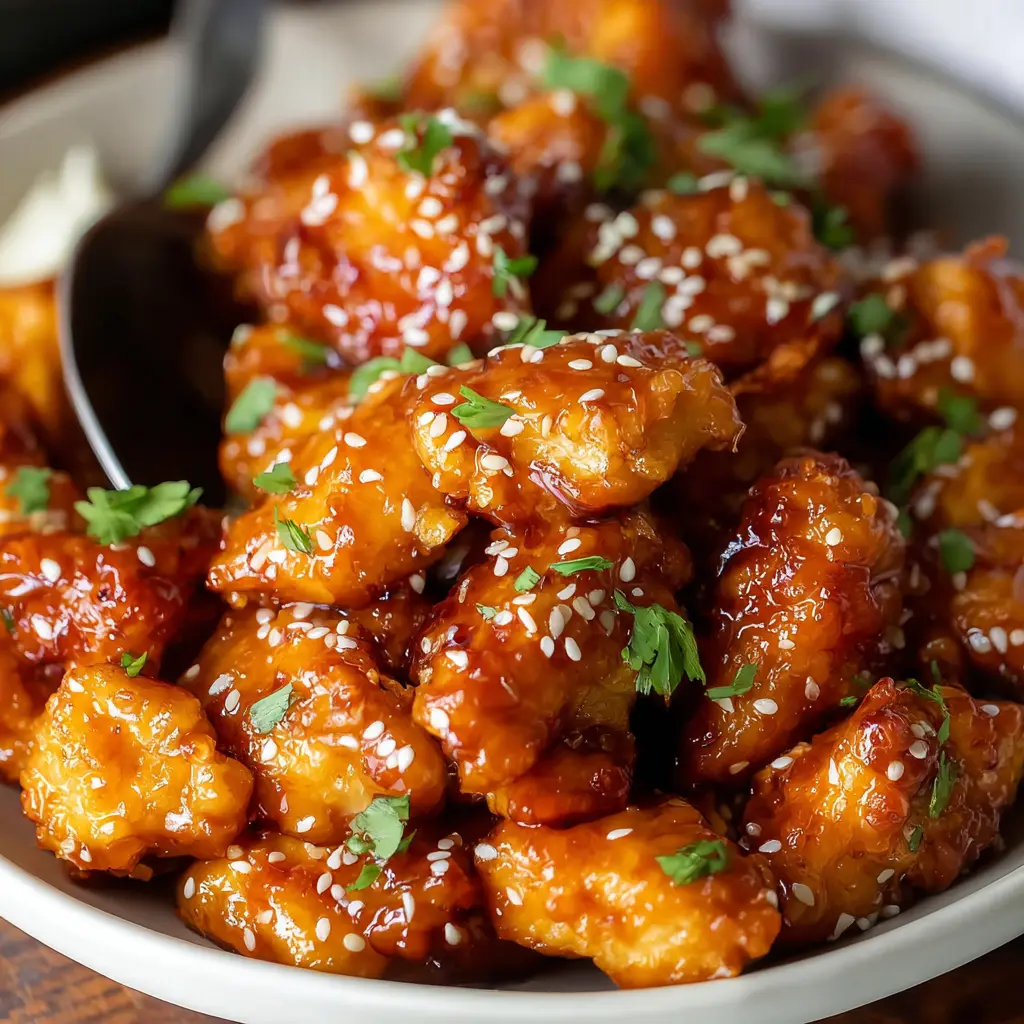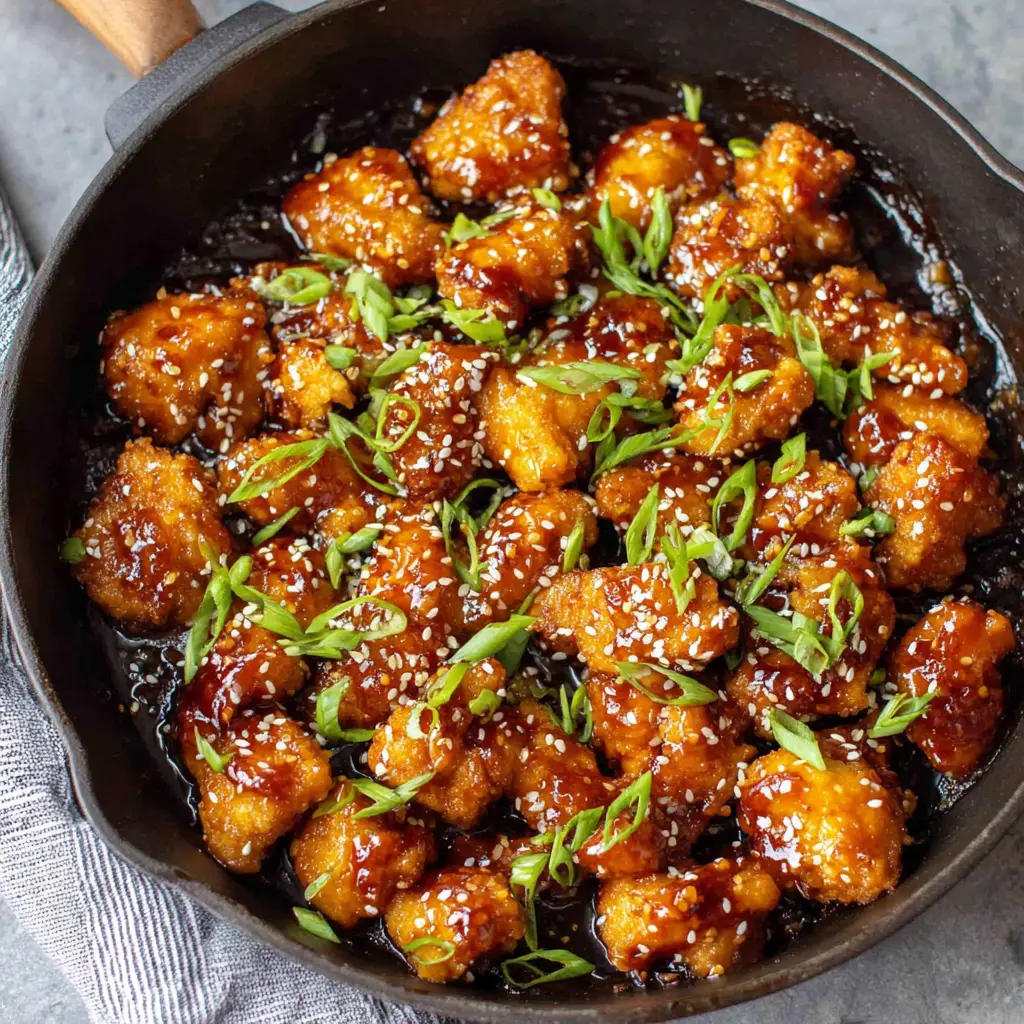
The beauty of homemade sesame chicken lies in the control you have over every element – from the crispiness of the coating to the sweetness level of that gorgeous amber glaze. Unlike many takeout versions that can be overly sweet or soggy by the time they reach your table, this recipe ensures each piece maintains its crunch while being generously coated in that irresistible sauce.
This dish originated from Chinese-American cuisine, evolving from traditional Chinese cooking techniques to suit Western palates. The combination of sweet and savory elements, paired with the satisfying crunch of perfectly fried chicken, creates a comfort food experience that’s both familiar and exciting. Whether you’re looking to impress dinner guests or simply craving that restaurant favorite at home, this sesame chicken recipe delivers exceptional results every single time.
Ingredients List
For the Chicken:
- 2 pounds boneless, skinless chicken thighs or breasts, cut into 1-inch pieces
- 1 cup all-purpose flour (or gluten-free flour blend for dietary needs)
- 1/2 cup cornstarch
- 2 large eggs, beaten
- 1/2 cup whole milk (substitute with buttermilk for extra tang, or plant-based milk for dairy-free)
- 1 teaspoon garlic powder
- 1 teaspoon onion powder
- 1/2 teaspoon salt
- 1/4 teaspoon black pepper
- Vegetable oil for frying (about 4-6 cups)
For the Sesame Glaze:
- 1/2 cup granulated sugar (or honey for a more natural sweetener)
- 1/3 cup rice vinegar (white vinegar works as substitute)
- 1/4 cup soy sauce (use tamari for gluten-free option)
- 2 tablespoons ketchup
- 2 tablespoons cornstarch
- 1/4 cup water
- 2 tablespoons sesame oil
- 1 tablespoon fresh ginger, minced
- 3 cloves garlic, minced
For Garnish:
- 3 tablespoons sesame seeds, toasted
- 2 green onions, sliced diagonally
- Optional: red pepper flakes for heat
Timing
This sesame chicken recipe requires approximately 45 minutes from start to finish, making it perfect for a weeknight dinner that feels special. Break down your time as follows: 15 minutes for preparation (including cutting chicken and mixing ingredients), 20 minutes for frying the chicken in batches, and 10 minutes for making the sauce and final assembly.
To maximize efficiency, prepare your sauce ingredients while the oil heats up for frying. Toast your sesame seeds in a dry pan while the chicken cooks – they’ll develop a deeper, nuttier flavor this way. The chicken can be cut and seasoned up to 4 hours ahead and stored covered in the refrigerator, making this an excellent option for meal prep or entertaining.
How to Make It
1. Prepare the Chicken Coating
Combine flour, cornstarch, garlic powder, onion powder, salt, and pepper in a large bowl. In a separate bowl, whisk together eggs and milk until smooth. Cut your chicken into uniform pieces for even cooking – about 1-inch cubes work perfectly for getting that ideal crispy exterior while ensuring the inside cooks through completely.
2. Heat the Oil
Pour oil into a heavy-bottomed pot or deep fryer until it reaches 3-4 inches deep. Heat to 350°F (175°C). The oil temperature is crucial here – too hot and the coating burns before the chicken cooks through; too cool and you’ll end up with greasy, soggy results. Use a thermometer for best results, or test with a small piece of batter that should sizzle vigorously when dropped in.
3. Coat and Fry the Chicken
Dip chicken pieces first in the egg mixture, then dredge thoroughly in the flour mixture, pressing gently to ensure coating adheres. Fry in small batches (about 6-8 pieces at a time) for 4-5 minutes until golden brown and cooked through. The internal temperature should reach 165°F. Transfer to a paper towel-lined plate, but don’t worry if they lose some crispiness – the sauce will help revive the texture.
4. Make the Sesame Glaze
While the chicken rests, whisk cornstarch and water in a small bowl until smooth. In a large skillet or wok, combine sugar, rice vinegar, soy sauce, and ketchup over medium heat. Add minced ginger and garlic, stirring until fragrant, about 1 minute. Add the cornstarch slurry and cook, stirring constantly, until the sauce thickens and becomes glossy, about 2-3 minutes.
5. Combine and Serve
Remove the sauce from heat and stir in sesame oil for that distinctive nutty aroma. Add the fried chicken pieces to the sauce, tossing gently to coat each piece completely. The residual heat will warm the chicken while the sauce creates that beautiful glossy coating. Sprinkle with toasted sesame seeds and sliced green onions before serving immediately.

Nutritional Information
Each serving of this sesame chicken (recipe serves 4-6 people) provides approximately 420-480 calories, depending on portion size. The dish offers a good source of protein from the chicken (about 25-30 grams per serving), while the sesame seeds contribute healthy fats and calcium.
The recipe does contain moderate amounts of sodium from the soy sauce and sugar from the glaze, making it more of an occasional treat than an everyday meal. However, chicken thighs provide iron, B-vitamins, and zinc, while the ginger and garlic offer natural anti-inflammatory compounds. The sesame seeds add vitamin E and healthy monounsaturated fats that support heart health.
Healthier Alternatives for the Recipe
For a lighter version, try baking the coated chicken pieces at 425°F for 15-18 minutes instead of frying, turning once halfway through. While you’ll sacrifice some crispiness, you’ll significantly reduce the oil content.
Reduce the sugar in the glaze by half and add a tablespoon of natural orange juice for sweetness and fresh flavor. For gluten-free needs, substitute the all-purpose flour with a 1:1 gluten-free baking blend and use tamari instead of regular soy sauce.
Create a grain-free version by using almond flour mixed with tapioca starch for coating, though the texture will be slightly different. For those watching sodium intake, use low-sodium soy sauce and reduce the amount by 1 tablespoon, compensating with extra rice vinegar for tang.
Serving Suggestions
Serve your sesame chicken over steamed jasmine or brown rice to soak up that delicious glaze. For a complete meal, pair with steamed broccoli, snap peas, or baby bok choy that can cook while you prepare the chicken.
Consider serving family-style with additional sides like vegetable fried rice, pot stickers, or a fresh cucumber salad to balance the richness. The dish also pairs beautifully with cauliflower rice for a lower-carb option, or over crispy chow mein noodles for extra texture contrast.
For special occasions, garnish with additional toasted sesame seeds, a sprinkle of red pepper flakes for heat, and fresh cilantro leaves for color and freshness.
Common Mistakes to Avoid
The biggest mistake when making sesame chicken is overcrowding the oil when frying, which drops the temperature and results in greasy, unevenly cooked chicken. Always fry in small batches, even if it takes longer.
Another common error is making the sauce too thick or cooking it too long, which can result in a gummy texture. The sauce should coat a spoon but still flow freely. If it gets too thick, simply whisk in a tablespoon of warm water.
Don’t skip the cornstarch in the coating mixture – it’s essential for achieving that signature crispy texture that sets restaurant-style sesame chicken apart from homemade versions. Finally, serve immediately after tossing with sauce to maintain the best texture contrast between the crispy coating and glossy glaze.
Storing Tips for the Recipe
Store leftover sesame chicken in the refrigerator for up to 3 days in an airtight container. The coating will soften over time, but the flavors remain delicious and make excellent fried rice additions or quick lunch reheats.
For reheating, avoid the microwave which will make the coating soggy. Instead, reheat in a 350°F oven for 8-10 minutes, or quickly stir-fry in a hot pan with a little oil to help crisp the coating again.
The sauce can be made up to 3 days ahead and stored separately in the refrigerator. The fried chicken is best enjoyed fresh, but you can prep the cut chicken and coating ingredients a day ahead. Don’t recommend freezing the completed dish, as the texture suffers significantly upon thawing.
Conclusion
This sesame chicken recipe brings together all the elements that make this dish so beloved – crispy, tender chicken pieces coated in a glossy, sweet-savory glaze that’s absolutely irresistible. The combination of techniques and carefully balanced flavors creates a restaurant-quality dish that’s surprisingly achievable in your home kitchen.
The beauty of making sesame chicken at home lies not just in the superior freshness and flavor control, but in the joy of creating something that brings people together around the dinner table. Don’t be intimidated by the frying process – with the right temperature and technique, you’ll achieve that perfect golden crispiness that makes this dish so special.
Give this recipe a try and prepare to be amazed by how closely it rivals your favorite restaurant version. I’d love to hear about your experience making it and any creative variations you discover along the way!
FAQs
Can I use chicken breast instead of thighs for this sesame chicken recipe?
Absolutely! Chicken breasts work well, though thighs tend to stay more moist and flavorful. If using breasts, be extra careful not to overcook them, as they can dry out more quickly than thighs.
What’s the best oil temperature for frying the chicken?
Maintain your oil at 350°F (175°C) for optimal results. This temperature ensures the coating crisps up quickly while cooking the chicken through without burning the exterior.
Can I make the sesame glaze ahead of time?
Yes, the sauce keeps well in the refrigerator for up to 3 days. Reheat gently and whisk in a tablespoon of water if it has thickened too much during storage.
How do I prevent the coating from falling off during frying?
Make sure your chicken is dry before coating, press the flour mixture firmly onto each piece, and don’t move the chicken around too much once it hits the oil. Let each piece set for about 30 seconds before any adjustment.
Can I bake this sesame chicken instead of frying?
Yes, though the texture will be different. Bake coated chicken pieces at 425°F for 15-18 minutes, turning once. You’ll get less crispiness but still delicious results with significantly less oil.
What can I substitute for rice vinegar in the sauce?
White vinegar or apple cider vinegar work as substitutes, though they’re slightly more acidic. Start with a bit less and adjust to taste, or add a pinch of sugar to balance the extra tartness.
