
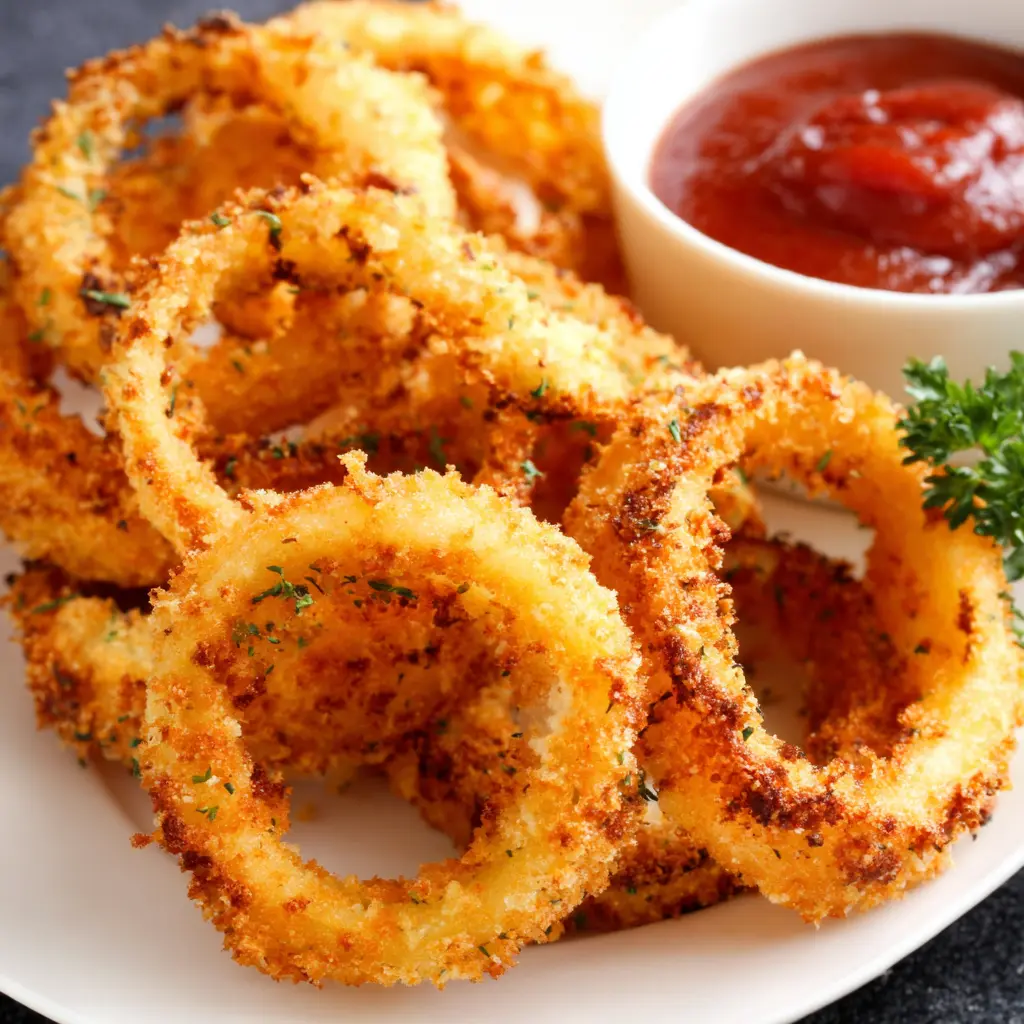
There’s something magical about the satisfying crunch of onion rings that brings us back to childhood memories of family dinners and weekend treats. Traditional deep-fried versions have long dominated restaurant menus and home kitchens, but baked onion rings offer all the crispy satisfaction with a healthier twist that doesn’t compromise on flavor.
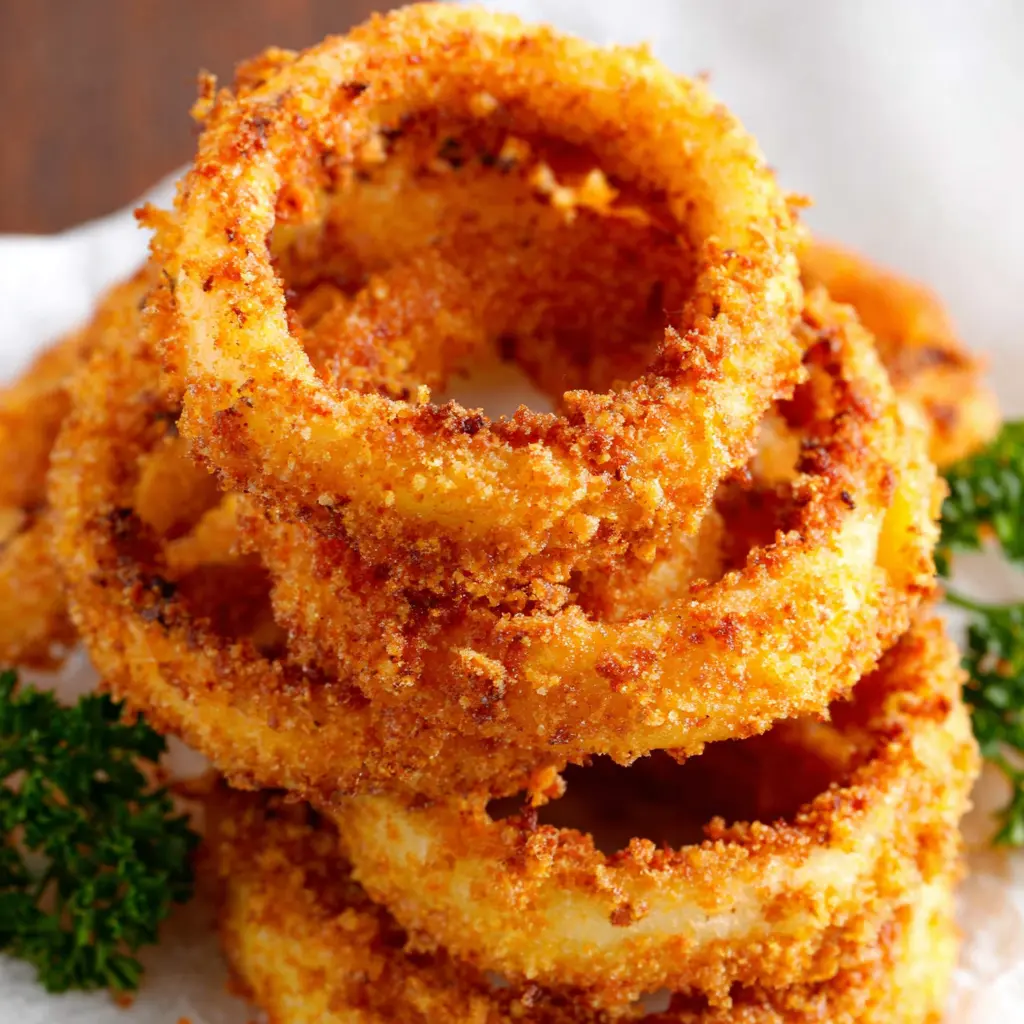
The beauty of baked onion rings lies in their simplicity and versatility. By using your oven instead of a deep fryer, you’ll create golden, crunchy rings with significantly less oil while maintaining that irresistible texture we all crave. This cooking method allows the natural sweetness of the onions to shine through while creating a satisfying crunch that rivals any restaurant version.
These homemade gems are perfect for busy weeknights, game day gatherings, or whenever you’re craving comfort food without the guilt. The best part? You probably already have most of the ingredients in your pantry right now.
Ingredients List
Base Ingredients:
- 2 large sweet onions (Vidalia or yellow onions work beautifully)
- 1 cup all-purpose flour
- 2 large eggs, beaten
- 2 cups panko breadcrumbs
- 1/2 cup regular breadcrumbs
Seasonings:
- 1 teaspoon garlic powder
- 1 teaspoon onion powder
- 1 teaspoon smoked paprika
- 1/2 teaspoon dried oregano
- 1 teaspoon salt
- 1/2 teaspoon black pepper
- 1/4 teaspoon cayenne pepper (optional)
For Cooking:
- 2 tablespoons olive oil or cooking spray
- 2 tablespoons buttermilk (for extra tang)
Substitution Options:
- Gluten-free flour and gluten-free breadcrumbs for celiac-friendly version
- Crushed cornflakes or crushed crackers instead of breadcrumbs
- Plant-based milk and flax eggs for vegan adaptation
- Almond flour for low-carb option
Timing
Preparation Time: 20 minutes
Cooking Time: 25-30 minutes
Total Time: 45-50 minutes
Time Management Tips:
- Slice onions first and let them sit while preparing coating stations
- Set up your breading stations before preheating the oven
- Use the preheating time to bread your onion rings
- Consider making a double batch since they freeze beautifully
Make-Ahead Suggestion: Bread the onion rings up to 4 hours in advance and refrigerate on the baking sheet. This actually helps the coating adhere better during baking.
How to Make It
1. Prepare Your Workspace
Preheat your oven to 425°F (220°C) and line two large baking sheets with parchment paper. Lightly spray with cooking oil or brush with olive oil. Set up three shallow dishes for your breading station: flour mixture in the first, beaten eggs with buttermilk in the second, and seasoned breadcrumb mixture in the third.
2. Slice and Separate the Onions
Cut onions into 1/2-inch thick slices and gently separate into individual rings. Discard the smallest inner rings or save them for other cooking projects. Pat the rings dry with paper towels – this step is crucial for achieving maximum crispiness.
3. Season Your Coatings
Mix flour with half the salt and pepper in your first dish. In the second dish, whisk eggs with buttermilk until smooth. Combine both types of breadcrumbs with remaining seasonings in the third dish, mixing thoroughly to distribute flavors evenly.
4. Bread the Onion Rings
Working with one ring at a time, dredge each piece in seasoned flour, ensuring complete coverage. Dip into the egg mixture, letting excess drip off, then press firmly into the breadcrumb mixture. For extra crunch, double-dip by repeating the egg and breadcrumb steps.
5. Arrange and Oil
Place breaded rings on prepared baking sheets, ensuring they don’t overlap. Lightly spray or brush the tops with olive oil – this creates the golden color and crispy texture we’re after.
6. Bake to Golden Perfection
Bake for 12-15 minutes, then carefully flip each ring and bake another 10-15 minutes until golden brown and crispy. Look for a deep golden color and listen for a slight sizzling sound when they’re done.
Nutritional Information
Per serving (approximately 6 rings):
- Calories: 180-200
- Protein: 6g
- Carbohydrates: 32g
- Fat: 4g
- Fiber: 3g
- Sodium: 320mg
These baked onion rings provide significantly less fat than their deep-fried counterparts while delivering important nutrients like vitamin C from the onions and B vitamins from the breadcrumb coating. The baking method preserves more of the onion’s natural antioxidants, particularly quercetin, which supports immune function.
Note: Nutritional values are approximate and may vary based on specific ingredients and serving sizes used.
Healthier Alternatives for the Recipe
Lower Calorie Options:
- Use cooking spray instead of olive oil for a lighter version
- Try crushed rice cakes instead of breadcrumbs for fewer calories
- Substitute egg whites for whole eggs
Gluten-Free Adaptations:
- Replace regular flour with rice flour or almond flour
- Use certified gluten-free breadcrumbs or crushed gluten-free cereal
- Add xanthan gum if needed for better binding
Vegan Modifications:
- Replace eggs with a flax egg mixture (1 tablespoon ground flaxseed + 3 tablespoons water per egg)
- Use plant-based milk instead of buttermilk
- Nutritional yeast adds a savory depth to the breadcrumb mixture
Air Fryer Version:
- Cook at 380°F for 8-10 minutes, flipping halfway through
- Reduce oil to just a light spray
- Work in smaller batches for even cooking
Serving Suggestions
These crispy baked onion rings shine as both appetizers and side dishes. Serve them hot alongside burgers and sandwiches, or present them as an elegant starter with gourmet dipping sauces.
Dipping Sauce Ideas:
- Classic ranch or honey mustard
- Spicy aioli with sriracha and lemon
- Tangy barbecue sauce
- Herb-infused Greek yogurt dip
Perfect Pairings:
- Grilled meats and vegetables
- Fish and chips for a pub-style meal
- Loaded salads for added crunch
- Game day spreads with wings and nachos
Presentation Tips:
- Serve in paper-lined baskets for casual gatherings
- Arrange on wooden boards with various dipping sauces
- Garnish with fresh herbs like parsley or chives
Common Mistakes to Avoid
Soggy Results: Pat onions completely dry before breading, and don’t skip the oil spray on top. Moisture is the enemy of crispiness.
Uneven Cooking: Avoid overcrowding the baking sheet. Give each ring space to breathe and cook evenly.
Bland Flavor: Season each layer – the flour, the breadcrumbs, and don’t forget to taste and adjust. Under-seasoned coating leads to disappointing results.
Burning the Coating: If rings are browning too quickly, tent with foil and reduce temperature by 25°F. Every oven behaves differently.
Falling Apart: Press breadcrumbs firmly onto each ring and let them rest for 5-10 minutes before baking to help the coating adhere.
Storing Tips for the Recipe
Refrigerator Storage:
Store leftover baked onion rings in an airtight container for up to 3 days. Place parchment paper between layers to prevent sticking.
Freezing Instructions:
Freeze unbaked, breaded rings on baking sheets until solid, then transfer to freezer bags for up to 3 months. Bake directly from frozen, adding 5-10 extra minutes to cooking time.
Reheating Methods:
- Oven: 350°F for 8-10 minutes until crispy
- Air fryer: 350°F for 3-5 minutes
- Avoid microwaving as it makes the coating soggy
Make-Ahead Preparation:
Bread the rings and refrigerate for up to 4 hours before baking. This actually improves coating adhesion and flavor development.
Conclusion
These baked onion rings prove that you don’t need a deep fryer to create restaurant-quality results at home. The combination of proper technique, smart seasoning, and the right oven temperature delivers all the satisfaction of the classic version with a healthier approach that you can feel good about serving to your family.
The versatility of this recipe means you can customize it to suit any dietary needs or flavor preferences. Whether you’re hosting a casual gathering or looking for a satisfying weeknight side dish, these golden, crispy rings deliver every time.
Don’t wait for a special occasion – gather your ingredients and give these a try tonight. Your kitchen will smell amazing, and you’ll have a new go-to recipe that’s sure to become a household favorite.
FAQs
Can I make these without eggs?
Absolutely! Replace eggs with flax eggs (1 tablespoon ground flaxseed mixed with 3 tablespoons water per egg) or use buttermilk alone for binding. The coating will still adhere beautifully.
Why are my onion rings not crispy enough?
Ensure onions are completely dry before breading, don’t skip the oil spray, and avoid overcrowding the baking sheet. Also, make sure your oven is fully preheated to 425°F.
Can I use different types of onions?
Yes! Sweet onions like Vidalia are ideal for their mild flavor, but yellow onions work great too. Red onions add a sharper taste and beautiful color contrast.
How do I prevent the coating from falling off?
Let the breaded rings rest for 5-10 minutes before baking, press the breadcrumbs firmly, and ensure each layer is well-coated. The resting time helps everything bind together.
Can I make these in an air fryer?
Definitely! Cook at 380°F for 8-10 minutes, flipping halfway through. Work in batches to avoid overcrowding, and reduce the oil to just a light spray.
What’s the best way to cut uniform onion rings?
Use a sharp knife and cut slices about 1/2-inch thick. Cutting them too thin makes them fragile, while too thick prevents even cooking. Consistent thickness ensures even browning.

Baked Onion Rings Recipe: Crispy and Healthy Alternative
- Total Time: 45-50 minutes
- Yield: 4 servings 1x
Description
The beauty of baked onion rings lies in their simplicity and versatility. By using your oven instead of a deep fryer, you’ll create golden, crunchy rings with significantly less oil while maintaining that irresistible texture we all crave. This cooking method allows the natural sweetness of the onions to shine through while creating a satisfying crunch that rivals any restaurant version.
Ingredients
Base Ingredients:
- 2 large sweet onions (Vidalia or yellow onions work beautifully)
- 1 cup all-purpose flour
- 2 large eggs, beaten
- 2 cups panko breadcrumbs
- 1/2 cup regular breadcrumbs
Seasonings:
- 1 teaspoon garlic powder
- 1 teaspoon onion powder
- 1 teaspoon smoked paprika
- 1/2 teaspoon dried oregano
- 1 teaspoon salt
- 1/2 teaspoon black pepper
- 1/4 teaspoon cayenne pepper (optional)
For Cooking:
- 2 tablespoons olive oil or cooking spray
- 2 tablespoons buttermilk (for extra tang)
Substitution Options:
- Gluten-free flour and gluten-free breadcrumbs for celiac-friendly version
- Crushed cornflakes or crushed crackers instead of breadcrumbs
- Plant-based milk and flax eggs for vegan adaptation
- Almond flour for low-carb option
Instructions
Preheat your oven to 425°F (220°C) and line two large baking sheets with parchment paper. Lightly spray with cooking oil or brush with olive oil. Set up three shallow dishes for your breading station: flour mixture in the first, beaten eggs with buttermilk in the second, and seasoned breadcrumb mixture in the third.
Cut onions into 1/2-inch thick slices and gently separate into individual rings. Discard the smallest inner rings or save them for other cooking projects. Pat the rings dry with paper towels – this step is crucial for achieving maximum crispiness.
Mix flour with half the salt and pepper in your first dish. In the second dish, whisk eggs with buttermilk until smooth. Combine both types of breadcrumbs with remaining seasonings in the third dish, mixing thoroughly to distribute flavors evenly.
Working with one ring at a time, dredge each piece in seasoned flour, ensuring complete coverage. Dip into the egg mixture, letting excess drip off, then press firmly into the breadcrumb mixture. For extra crunch, double-dip by repeating the egg and breadcrumb steps.
Place breaded rings on prepared baking sheets, ensuring they don’t overlap. Lightly spray or brush the tops with olive oil – this creates the golden color and crispy texture we’re after.
Bake for 12-15 minutes, then carefully flip each ring and bake another 10-15 minutes until golden brown and crispy. Look for a deep golden color and listen for a slight sizzling sound when they’re done.
Nutrition
- Calories: 180-200
- Sodium: 320mg
- Fat: 4g
- Carbohydrates: 32g
- Fiber: 3g
- Protein: 6g