

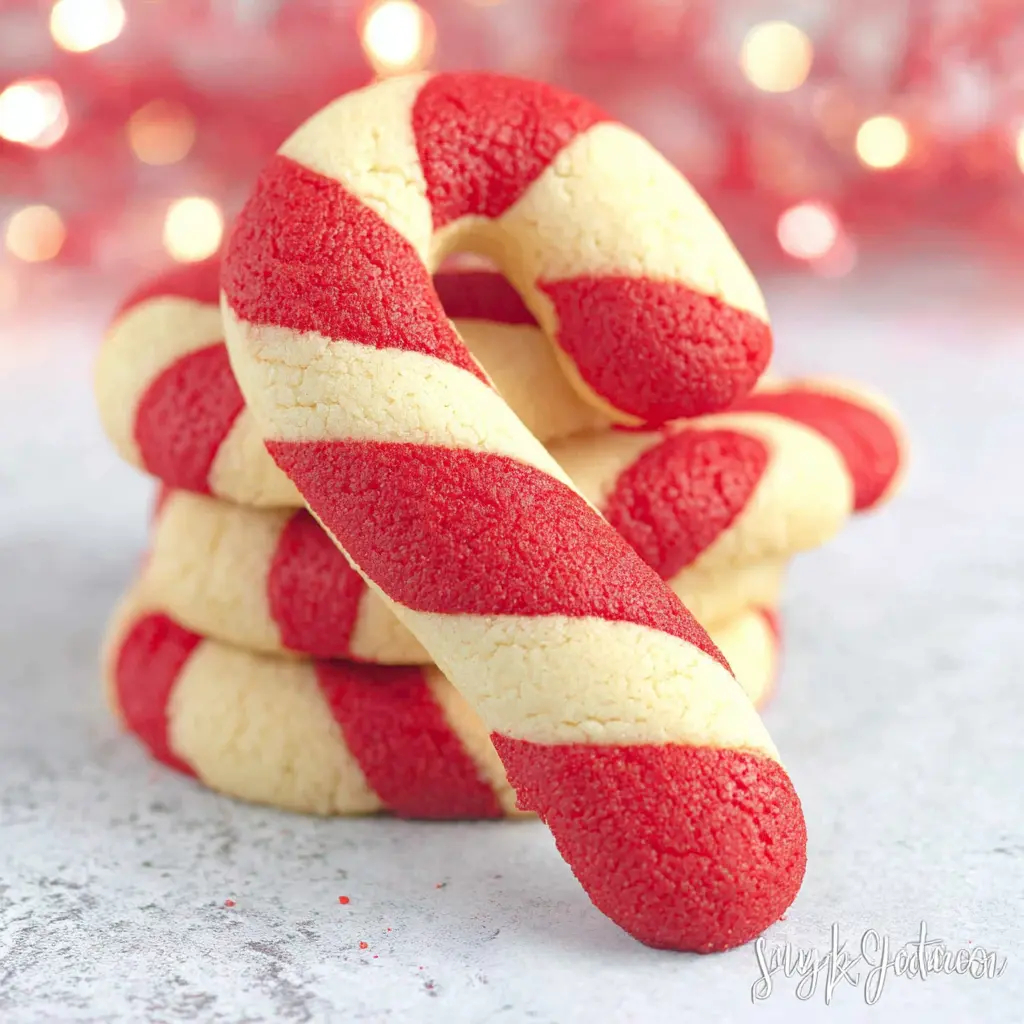
The scent of peppermint and vanilla wafting through the kitchen on a crisp December afternoon has a magical way of transforming any home into a winter wonderland. There’s something deeply nostalgic about the red and white swirls of a candy cane cookie that instantly transports us back to childhood holidays, when the simple act of twisting cookie dough felt like pure magic.
These delightful candy cane cookies have been a beloved holiday tradition for generations, combining the classic flavors of Christmas with the artistry of hand-shaped treats. What makes this recipe truly special is its simplicity – you don’t need fancy equipment or advanced baking skills to create these stunning festive cookies that look like they came from a professional bakery.
Ingredients List
For the Cookie Dough:
- 1 cup (2 sticks) unsalted butter, softened to room temperature
- ¾ cup powdered sugar, sifted for smoothness
- 1 large egg, at room temperature
- 1 teaspoon pure vanilla extract
- ½ teaspoon peppermint extract (adjust to taste preference)
- 2½ cups all-purpose flour
- ½ teaspoon salt
- Red food coloring (gel or liquid)
Dietary Substitutions:
- Gluten-free: Replace all-purpose flour with a 1:1 gluten-free baking flour blend
- Dairy-free: Substitute butter with vegan butter or solid coconut oil
- Egg-free: Use 3 tablespoons of applesauce or a commercial egg replacer
- Natural coloring: Try beet juice powder or freeze-dried strawberry powder for red coloring
Timing
Preparation Time: 30 minutes
Chilling Time: 30 minutes (essential for easy handling)
Baking Time: 12-15 minutes per batch
Total Time: Approximately 2 hours
Time-Saving Tips: Prepare the dough the night before and refrigerate overnight. You can also shape the cookies in the morning and bake them in the afternoon for optimal freshness.
How to Make It
1. Prepare Your Base Dough
Start by creaming the softened butter and powdered sugar in a large bowl using an electric mixer on medium speed for about 3 minutes, until the mixture becomes light and fluffy. The key here is patience – properly creamed butter creates the tender texture that makes these candy cane cookies melt in your mouth.
Beat in the egg, vanilla extract, and peppermint extract until fully combined. The mixture might look slightly curdled at this point, but don’t worry – it’s perfectly normal.
2. Mix the Dry Ingredients
In a separate bowl, whisk together the flour and salt. Gradually add this mixture to the butter mixture, mixing on low speed until just combined. Overmixing can lead to tough cookies, so stop as soon as the flour disappears.
3. Create Your Colors
Divide the dough in half. Leave one portion plain (this will be your white stripes), and add red food coloring to the other half. Start with just a few drops and knead the dough until you achieve your desired shade of red. Remember, the color will appear slightly more vibrant after baking.
4. Chill and Rest
Wrap both portions of dough separately in plastic wrap and refrigerate for at least 30 minutes. This chilling step is crucial – it prevents the cookies from spreading too much during baking and makes the dough much easier to handle.
5. Shape Your Candy Canes
Working with small portions to keep the remaining dough chilled, roll each color into ropes about ¼-inch thick and 4 inches long. Place a red rope alongside a white rope and gently twist them together, then curve the top to form the classic candy cane shape.
6. Bake to Perfection
Preheat your oven to 350°F (175°C). Place shaped cookies on parchment-lined baking sheets, spacing them about 2 inches apart. Bake for 12-15 minutes, until the white portions are set but not browned. The cookies should still feel slightly soft when you remove them from the oven.
Nutritional Information
Each candy cane cookie (based on 36 cookies per batch) contains approximately:
- Calories: 95
- Carbohydrates: 12g
- Fat: 5g
- Protein: 1.5g
- Sugar: 3g
These cookies provide small amounts of calcium and iron from the flour, and the moderate portion size makes them a reasonable holiday indulgence. The homemade nature means you control the quality of ingredients and avoid unnecessary preservatives found in store-bought alternatives.
Healthier Alternatives for the Recipe
Reduce Sugar: Cut the powdered sugar by ¼ cup and add an extra ½ teaspoon of vanilla extract to maintain sweetness perception.
Whole Grain Option: Replace up to half the all-purpose flour with white whole wheat flour for added fiber without compromising texture significantly.
Natural Sweeteners: Substitute powdered sugar with powdered coconut sugar, though this will create a slightly less white appearance in the plain dough.
Portion Control: Make mini candy canes using smaller rope portions for bite-sized treats with fewer calories per cookie.
Serving Suggestions
Present these candy cane cookies on a festive platter alongside hot cocoa, mulled cider, or peppermint tea. They make stunning additions to holiday cookie exchanges and gift boxes. For parties, create a dessert station with these cookies, chocolate-dipped pretzels, and other red and white treats.
Consider packaging them in clear cellophane bags tied with red ribbon for gorgeous homemade gifts. They also look beautiful hung on Christmas trees as edible ornaments – just remember to poke a small hole with a skewer before baking.
Common Mistakes to Avoid
Skipping the Chill Time: Warm dough is nearly impossible to shape and will spread excessively during baking. Always allow adequate chilling time.
Overworking the Dough: Excessive handling warms the butter and develops gluten, resulting in tough cookies.
Uneven Rope Thickness: Inconsistent sizing leads to uneven baking. Take time to roll uniform ropes for professional-looking results.
Overbaking: These cookies can go from perfectly baked to overdone quickly. Remove them while they still appear slightly underbaked.
Storing Tips for the Recipe
Room Temperature: Store completely cooled cookies in airtight containers for up to one week, separating layers with parchment paper.
Freezing: Unbaked shaped cookies freeze beautifully for up to three months. Freeze on baking sheets first, then transfer to freezer bags. Bake directly from frozen, adding 1-2 extra minutes to baking time.
Make-Ahead: Cookie dough can be refrigerated for up to three days or frozen for up to three months.
Conclusion
These candy cane cookies bring together the perfect combination of festive appearance, delightful flavor, and achievable technique that makes holiday baking truly special. The gentle peppermint flavor paired with buttery sweetness creates cookies that appeal to both children and adults, making them ideal for any holiday gathering.
The beauty of this recipe lies in its forgiving nature – even if your shapes aren’t perfectly uniform, the homemade charm adds to their appeal. Give this recipe a try this holiday season, and don’t forget to involve little helpers in the shaping process for extra family fun and lasting memories.
FAQs
Q: Can I make these cookies without peppermint extract?
A: Absolutely! Simply increase the vanilla extract to 1½ teaspoons for classic sugar cookies, or try almond extract for a different flavor profile.
Q: Why did my cookies lose their shape during baking?
A: This usually happens when the dough wasn’t chilled long enough or the oven temperature was too low. Ensure proper chilling and verify your oven temperature with a thermometer.
Q: How can I achieve more vibrant red coloring?
A: Gel food coloring provides more intense color than liquid versions without adding extra moisture to the dough. Add gradually until you reach your desired shade.
Q: Can I use cookie cutters instead of hand-shaping?
A: While you can roll out the dough and use cutters, hand-shaping creates the authentic twisted candy cane appearance that makes these cookies special.
Q: What’s the best way to fix cracked dough while shaping?
A: Let the dough sit at room temperature for 5-10 minutes to soften slightly, or knead gently with your hands to warm it up before continuing to shape.
Q: How do I prevent the colors from bleeding together?
A: Work quickly with chilled dough and handle gently when twisting. The colors will naturally blend slightly, which adds to the authentic candy cane appearance.

Candy Cane Cookies Recipe
- Total Time: Approximately 2 hours
- Yield: 36 cookies 1x
Description
The scent of peppermint and vanilla wafting through the kitchen on a crisp December afternoon has a magical way of transforming any home into a winter wonderland. There’s something deeply nostalgic about the red and white swirls of a candy cane cookie that instantly transports us back to childhood holidays, when the simple act of twisting cookie dough felt like pure magic.
Ingredients
For the Cookie Dough:
- 1 cup (2 sticks) unsalted butter, softened to room temperature
- ¾ cup powdered sugar, sifted for smoothness
- 1 large egg, at room temperature
- 1 teaspoon pure vanilla extract
- ½ teaspoon peppermint extract (adjust to taste preference)
- 2½ cups all-purpose flour
- ½ teaspoon salt
- Red food coloring (gel or liquid)
Dietary Substitutions:
- Gluten-free: Replace all-purpose flour with a 1:1 gluten-free baking flour blend
- Dairy-free: Substitute butter with vegan butter or solid coconut oil
- Egg-free: Use 3 tablespoons of applesauce or a commercial egg replacer
- Natural coloring: Try beet juice powder or freeze-dried strawberry powder for red coloring
Instructions
Start by creaming the softened butter and powdered sugar in a large bowl using an electric mixer on medium speed for about 3 minutes, until the mixture becomes light and fluffy. The key here is patience – properly creamed butter creates the tender texture that makes these candy cane cookies melt in your mouth.
Beat in the egg, vanilla extract, and peppermint extract until fully combined. The mixture might look slightly curdled at this point, but don’t worry – it’s perfectly normal.
In a separate bowl, whisk together the flour and salt. Gradually add this mixture to the butter mixture, mixing on low speed until just combined. Overmixing can lead to tough cookies, so stop as soon as the flour disappears.
Divide the dough in half. Leave one portion plain (this will be your white stripes), and add red food coloring to the other half. Start with just a few drops and knead the dough until you achieve your desired shade of red. Remember, the color will appear slightly more vibrant after baking.
Wrap both portions of dough separately in plastic wrap and refrigerate for at least 30 minutes. This chilling step is crucial – it prevents the cookies from spreading too much during baking and makes the dough much easier to handle.
Working with small portions to keep the remaining dough chilled, roll each color into ropes about ¼-inch thick and 4 inches long. Place a red rope alongside a white rope and gently twist them together, then curve the top to form the classic candy cane shape.
Preheat your oven to 350°F (175°C). Place shaped cookies on parchment-lined baking sheets, spacing them about 2 inches apart. Bake for 12-15 minutes, until the white portions are set but not browned. The cookies should still feel slightly soft when you remove them from the oven.
Nutrition
- Calories: 95
- Sugar: 3g
- Fat: 5g
- Carbohydrates: 12g
- Protein: 1.5g