
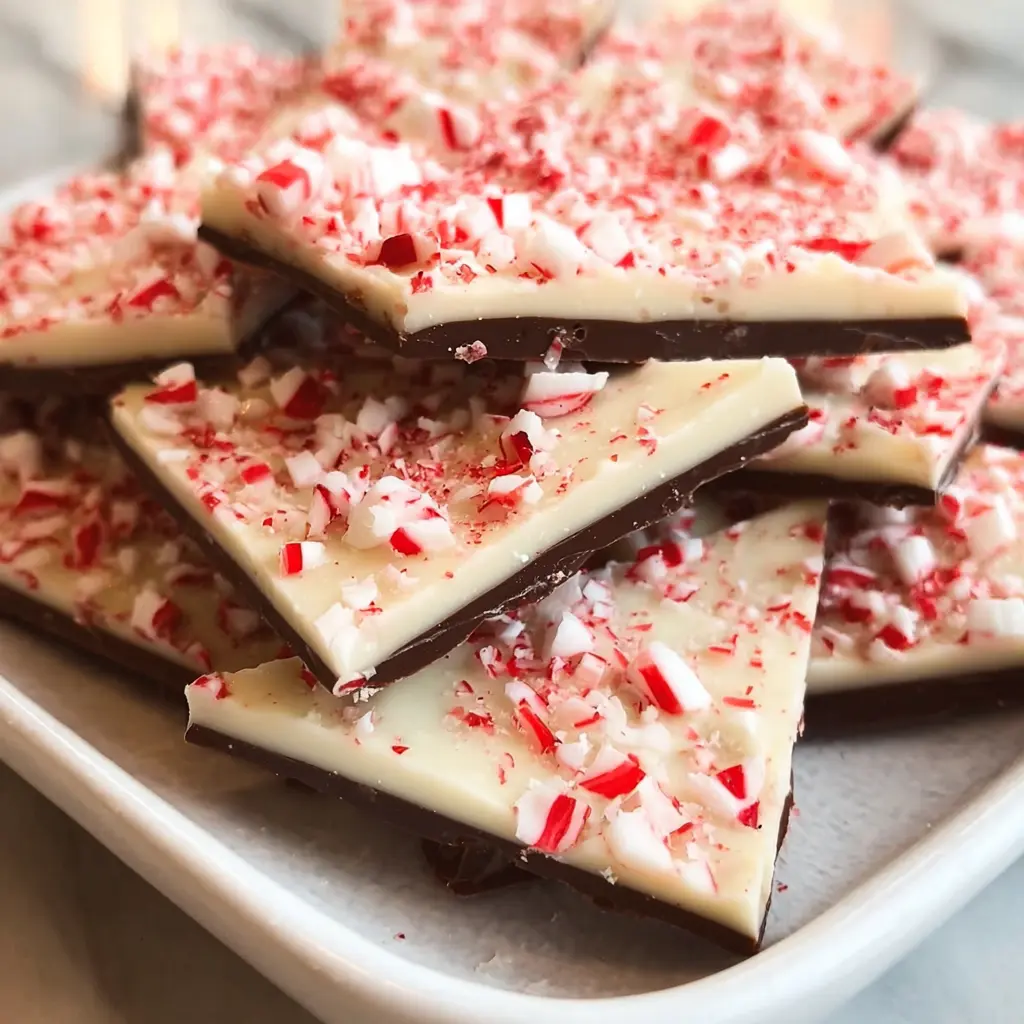
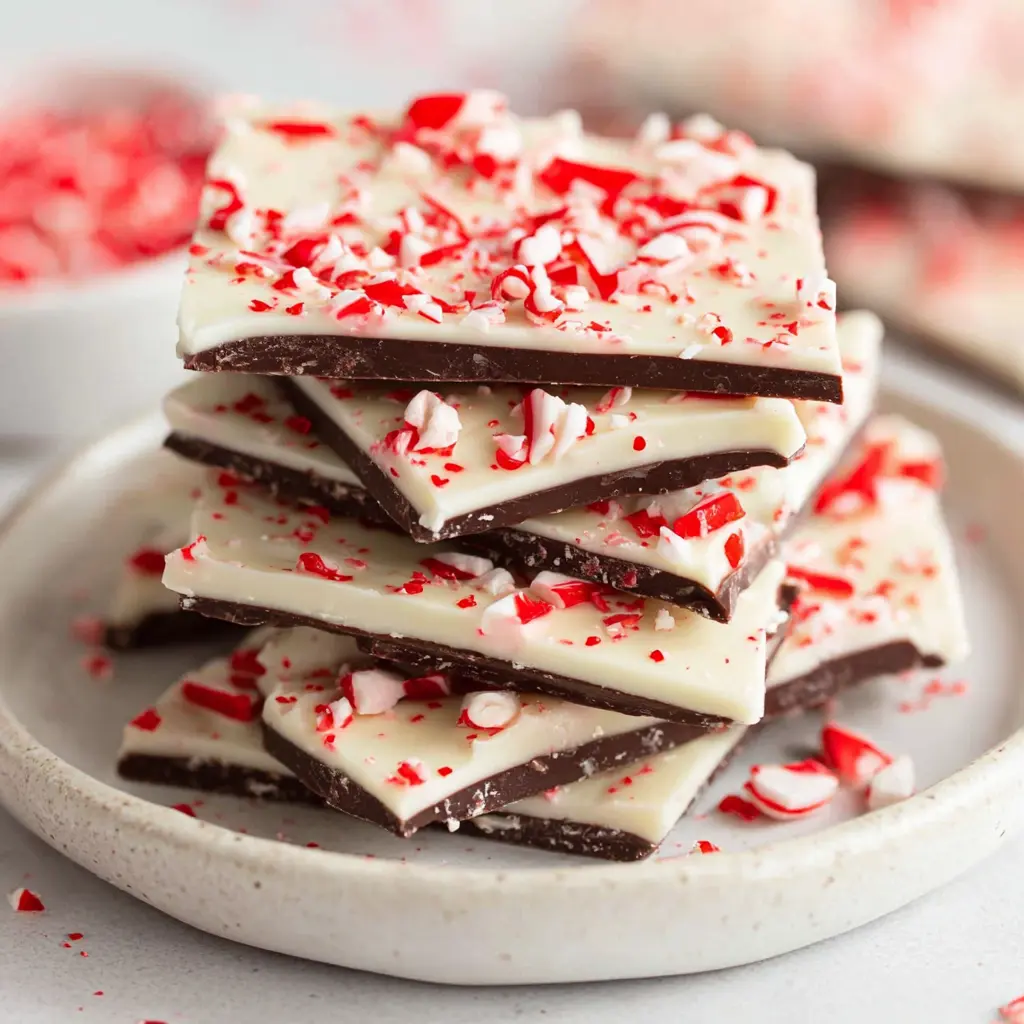
The holidays wouldn’t feel complete without that perfect combination of chocolate and peppermint. There’s something magical about the contrast of rich, creamy chocolate against the crisp, cool burst of peppermint that instantly transports you to cozy winter evenings. This peppermint bark recipe has been a tradition in my kitchen for years, and it never fails to impress guests or disappear quickly from holiday cookie trays. What makes this treat so special is its simplicity—you don’t need any fancy equipment or professional baking skills to create something that looks and tastes like it came from an upscale chocolatier. With just a handful of ingredients and about 30 minutes of active work, you’ll have a beautiful, festive candy that makes perfect gifts, party additions, or midnight snacks during December.
Ingredients List
For the Base Layer:
- 12 oz high-quality dark chocolate (60-70% cacao), chopped into small pieces
- 1 teaspoon vanilla extract
For the Top Layer:
- 12 oz white chocolate, chopped into small pieces
- ½ teaspoon peppermint extract (adjust to taste)
- 6-8 candy canes or peppermint candies, crushed into various-sized pieces
Practical Substitutions:
- Dairy-free option: Use dairy-free chocolate chips for both layers
- Sugar-free version: Replace with sugar-free chocolate alternatives
- Flavor variation: Try adding ½ teaspoon of orange or almond extract instead of peppermint
- Crunchy addition: Mix in crushed toffee pieces or chopped nuts for extra texture
Timing
Preparation Time: 15 minutes
Chilling Time: 45-60 minutes
Total Time: About 1 hour and 15 minutes
Time Management Tips:
- Crush your candy canes while the dark chocolate layer sets—this makes the process more efficient
- You can prepare this the day before your event; just store properly
- The chilling time is hands-off, so you can work on other holiday preparations
- Making double batches takes minimal extra time since most of the waiting is for chilling
How to Make It
1. Prepare Your Workspace
Line a 9×13-inch baking sheet with parchment paper, allowing some overhang on the sides for easy removal later. This overhang acts as handles and prevents any sticking issues. Make sure your workspace is clean and dry—chocolate can be temperamental around moisture.
2. Melt the Dark Chocolate Base
Place your chopped dark chocolate in a microwave-safe bowl and heat in 30-second intervals, stirring between each session. This gentle heating prevents burning and keeps the chocolate smooth. Once almost completely melted, stir continuously until the residual heat melts any remaining chunks. Add the vanilla extract and stir until glossy and uniform.
Chef’s Secret: Don’t rush the melting process. Overheated chocolate can seize up and become grainy. If it feels too thick, add a tiny amount of coconut oil (about ½ teaspoon) to smooth it out.
3. Spread the First Layer
Pour the melted dark chocolate onto your prepared baking sheet and use an offset spatula or the back of a spoon to spread it into an even layer about ¼-inch thick. You don’t need to fill the entire pan—aim for a roughly 9×11-inch rectangle. Smooth the top as evenly as possible for the best presentation.
Place the pan in the refrigerator for 20-25 minutes until firm to the touch but not completely set. You want it stable enough to support the white chocolate layer without the two layers completely separating later.
4. Prepare the Peppermint Topping
While your base layer chills, place your candy canes in a sealed plastic bag and gently crush them using a rolling pin or the bottom of a heavy glass. Create a variety of sizes—some fine powder and some larger chunks—for visual interest and different textural experiences in each bite.
5. Melt and Flavor the White Chocolate
Using the same method as the dark chocolate, melt your white chocolate in 30-second microwave intervals, stirring frequently. White chocolate is more delicate than dark, so watch it carefully. Once smooth, stir in the peppermint extract. Taste a tiny bit (with a clean spoon) and adjust the extract if you prefer a stronger mint flavor.
6. Create the Top Layer
Remove your chilled dark chocolate from the refrigerator and immediately pour the white chocolate over it. Work quickly but carefully to spread it evenly across the entire dark chocolate surface. The warmth of the white chocolate will slightly soften the top of the dark layer, helping them bond together.
7. Add the Finishing Touch
Immediately sprinkle the crushed candy canes over the wet white chocolate, gently pressing the larger pieces down so they adhere properly. Don’t wait too long—once the white chocolate starts setting, the peppermint pieces won’t stick as well. Create an even distribution or go for an artful, rustic look.
8. Set and Break Into Pieces
Return the pan to the refrigerator for 30-40 minutes until completely firm. Once set, lift the bark out using the parchment paper overhang and place it on a cutting board. Break it into irregular pieces by hand for a rustic appearance, or use a large knife to cut clean squares for a more refined presentation. The irregular pieces have more charm and feel more artisanal.
Nutritional Information
Per serving (approximately 1 oz piece):
- Calories: 140-160
- Total Fat: 8-9g
- Saturated Fat: 5g
- Carbohydrates: 17-19g
- Sugar: 15-17g
- Protein: 1-2g
- Sodium: 20-25mg
Key Nutritional Notes:
Dark chocolate provides antioxidants called flavonoids, which have been associated with heart health benefits. Peppermint has traditionally been used to aid digestion and provide a refreshing sensory experience. This treat does contain sugar and saturated fat, so it’s best enjoyed in moderation as part of balanced holiday celebrations.
Nutritional values are approximate and will vary based on specific chocolate brands and portion sizes.
Healthier Alternatives for the Recipe
Lower Sugar Option:
Use sugar-free chocolate for both layers and sugar-free peppermint candies. The texture remains similar, though the sweetness profile will be noticeably different. Some people find sugar-free chocolate slightly less creamy.
Vegan Version:
Substitute with dairy-free dark and white chocolate alternatives. Many brands now offer excellent plant-based options that melt and set beautifully. Check ingredient labels to ensure both chocolates are certified vegan.
Reduced Fat Approach:
Make thinner layers of chocolate—you’ll use less overall while still getting that satisfying chocolate-peppermint combination in every bite. This reduces calories per piece without sacrificing flavor.
Protein-Boosted Bark:
Add a tablespoon of unflavored protein powder to the melted white chocolate before spreading. This slightly changes the texture but adds nutritional value for those tracking protein intake.
Natural Sweetener Version:
Seek out chocolates sweetened with stevia or monk fruit. These options are becoming more available and provide sweetness without refined sugar.
Serving Suggestions
Presentation Ideas:
- Arrange pieces in clear cellophane bags tied with festive ribbon for gift-giving
- Stack on a decorative platter alternating with sprigs of fresh rosemary for color contrast
- Place in small paper cups for individual servings at parties
- Layer between parchment paper in vintage tins for a nostalgic holiday feel
Complementary Pairings:
- Serve alongside hot cocoa, coffee, or peppermint tea
- Include on a dessert board with shortbread cookies and fudge
- Pair with sparkling wine or champagne for adult celebrations
- Offer with fresh berries to cut the richness
Portion Guidance:
One or two small pieces (about 1-2 ounces total) makes a satisfying after-dinner treat. This recipe yields approximately 24-30 pieces depending on how you break it, easily serving 12-15 people with seconds.
Seasonal Variations:
- Valentine’s Day: Use strawberry extract and pink food coloring in white chocolate, top with freeze-dried strawberries
- Easter: Add pastel food coloring and top with mini egg candies
- Fall: Replace peppermint with cinnamon chips and crushed graham crackers
Common Mistakes to Avoid
Overheating the Chocolate:
Chocolate burns easily and becomes grainy when overheated. Always use short microwave bursts and stir frequently. If it seizes (becomes thick and clumpy), it’s often from moisture or overheating—unfortunately, it’s difficult to rescue, so prevention is key.
Skipping the Parchment Paper:
Without proper lining, your beautiful bark will stick stubbornly to the pan, breaking apart when you try to remove it. The parchment paper investment saves frustration and preserves your presentation.
Using Low-Quality Chocolate:
Since this recipe has so few ingredients, chocolate quality dramatically affects the final result. Cheap chocolate often contains more additives and less cocoa butter, resulting in waxy texture and inferior flavor. Invest in good chocolate—it’s worth it.
Adding Peppermint Too Late:
If you wait until the white chocolate starts setting before adding the crushed candy canes, they’ll fall off when you handle the bark. Apply them immediately after spreading the white chocolate layer.
Rushing the Setting Time:
Trying to break apart bark that hasn’t fully set creates messy, soft pieces with chocolate on your hands. Be patient and allow full chilling time for clean breaks and professional-looking results.
Not Crushing Candy Canes Properly:
Pieces that are too large create difficulties in biting through the bark, while all powder lacks textural interest. Aim for variety—some fine dust for color and flavor, mixed with small crunchy pieces.
Storing Tips for the Recipe
Refrigerator Storage:
Store peppermint bark in an airtight container with parchment paper between layers to prevent sticking. It keeps well for 2-3 weeks in the refrigerator. Allow pieces to come to cool room temperature before serving for the best texture—cold bark can be too hard and doesn’t release flavors as well.
Freezer Storage:
For longer storage, freeze bark in freezer-safe containers or bags with parchment between layers. It maintains quality for up to 3 months. Thaw in the refrigerator overnight before bringing to room temperature to prevent condensation that can create a white bloom on the chocolate surface.
Room Temperature Considerations:
If your home stays consistently cool (below 70°F), you can store bark in a covered container at room temperature for 3-5 days. However, in warmer environments, the chocolate will soften and potentially melt, especially the white chocolate layer.
Gift-Giving Storage:
If packaging bark as gifts, assemble them close to when you’ll give them. Include a small note suggesting refrigeration if the recipient won’t enjoy them immediately. For mailing, ship during cooler months and include a cold pack if temperatures will exceed 65°F.
Make-Ahead Strategy:
Prepare bark up to two weeks before your event and store properly refrigerated. This spreads out holiday baking tasks and ensures you’re not rushing at the last minute. The flavors actually meld nicely after a day or two.
Conclusion
This peppermint bark recipe proves that impressive holiday treats don’t require complicated techniques or hours in the kitchen. With quality chocolate, a bit of patience during the melting process, and that festive peppermint crunch, you’ll create something that delights everyone who tries it. The beauty of this recipe lies in its versatility—make it exactly as written, or experiment with the variations to suit your preferences and dietary needs. Whether you’re filling holiday gift boxes, contributing to cookie exchanges, or simply treating yourself to something special, this bark delivers that perfect balance of elegance and ease. Give it a try this season, and don’t be surprised when it becomes your new holiday tradition. I’d love to hear how your bark turns out—share your creative variations or tell me how your family enjoyed it in the comments below!
FAQs
Can I use chocolate chips instead of chopped chocolate bars?
Yes, chocolate chips work perfectly fine for this recipe. They’re formulated to hold their shape during baking, which means they melt slightly differently than bar chocolate, but the final result is still delicious. You might notice a slightly different texture—bar chocolate tends to be smoother—but for casual home candy-making, chips are an excellent convenient option.
Why does my white chocolate look grainy or separated?
White chocolate contains more milk solids and is more sensitive to heat than dark chocolate. If it gets too hot or comes into contact with even a drop of water, it can seize and become grainy. To fix slightly grainy chocolate, try stirring in a small amount (½ teaspoon) of coconut oil or vegetable shortening. For future batches, use lower heat and shorter microwave intervals.
How can I make the candy cane pieces stick better to the top?
The key is timing—sprinkle the crushed peppermint immediately after spreading the white chocolate while it’s still completely liquid. Gently press larger pieces down with your fingertips or the back of a spoon. If you wait until the chocolate starts setting, the peppermint won’t adhere properly and will fall off when you break the bark apart.

Peppermint Bark Recipe
- Total Time: 1 hour and 15 minutes
- Yield: 8 servings 1x
Description
This peppermint bark recipe has been a tradition in my kitchen for years, and it never fails to impress guests or disappear quickly from holiday cookie trays. What makes this treat so special is its simplicity—you don’t need any fancy equipment or professional baking skills to create something that looks and tastes like it came from an upscale chocolatier. With just a handful of ingredients and about 30 minutes of active work, you’ll have a beautiful, festive candy that makes perfect gifts, party additions, or midnight snacks during December.
Ingredients
For the Base Layer:
- 12 oz high-quality dark chocolate (60-70% cacao), chopped into small pieces
- 1 teaspoon vanilla extract
For the Top Layer:
- 12 oz white chocolate, chopped into small pieces
- ½ teaspoon peppermint extract (adjust to taste)
- 6–8 candy canes or peppermint candies, crushed into various-sized pieces
Practical Substitutions:
- Dairy-free option: Use dairy-free chocolate chips for both layers
- Sugar-free version: Replace with sugar-free chocolate alternatives
- Flavor variation: Try adding ½ teaspoon of orange or almond extract instead of peppermint
- Crunchy addition: Mix in crushed toffee pieces or chopped nuts for extra texture
Instructions
Line a 9×13-inch baking sheet with parchment paper, allowing some overhang on the sides for easy removal later. This overhang acts as handles and prevents any sticking issues. Make sure your workspace is clean and dry—chocolate can be temperamental around moisture.
Place your chopped dark chocolate in a microwave-safe bowl and heat in 30-second intervals, stirring between each session. This gentle heating prevents burning and keeps the chocolate smooth. Once almost completely melted, stir continuously until the residual heat melts any remaining chunks. Add the vanilla extract and stir until glossy and uniform.
Chef’s Secret: Don’t rush the melting process. Overheated chocolate can seize up and become grainy. If it feels too thick, add a tiny amount of coconut oil (about ½ teaspoon) to smooth it out.
Pour the melted dark chocolate onto your prepared baking sheet and use an offset spatula or the back of a spoon to spread it into an even layer about ¼-inch thick. You don’t need to fill the entire pan—aim for a roughly 9×11-inch rectangle. Smooth the top as evenly as possible for the best presentation.
Place the pan in the refrigerator for 20-25 minutes until firm to the touch but not completely set. You want it stable enough to support the white chocolate layer without the two layers completely separating later.
While your base layer chills, place your candy canes in a sealed plastic bag and gently crush them using a rolling pin or the bottom of a heavy glass. Create a variety of sizes—some fine powder and some larger chunks—for visual interest and different textural experiences in each bite.
Using the same method as the dark chocolate, melt your white chocolate in 30-second microwave intervals, stirring frequently. White chocolate is more delicate than dark, so watch it carefully. Once smooth, stir in the peppermint extract. Taste a tiny bit (with a clean spoon) and adjust the extract if you prefer a stronger mint flavor.
Remove your chilled dark chocolate from the refrigerator and immediately pour the white chocolate over it. Work quickly but carefully to spread it evenly across the entire dark chocolate surface. The warmth of the white chocolate will slightly soften the top of the dark layer, helping them bond together.
Immediately sprinkle the crushed candy canes over the wet white chocolate, gently pressing the larger pieces down so they adhere properly. Don’t wait too long—once the white chocolate starts setting, the peppermint pieces won’t stick as well. Create an even distribution or go for an artful, rustic look.
Return the pan to the refrigerator for 30-40 minutes until completely firm. Once set, lift the bark out using the parchment paper overhang and place it on a cutting board. Break it into irregular pieces by hand for a rustic appearance, or use a large knife to cut clean squares for a more refined presentation. The irregular pieces have more charm and feel more artisanal.
Nutrition
- Calories: 140-160
- Sugar: 15-17g
- Sodium: 20-25mg
- Fat: 8-9g
- Carbohydrates: 17-19g
- Protein: 1-2g