
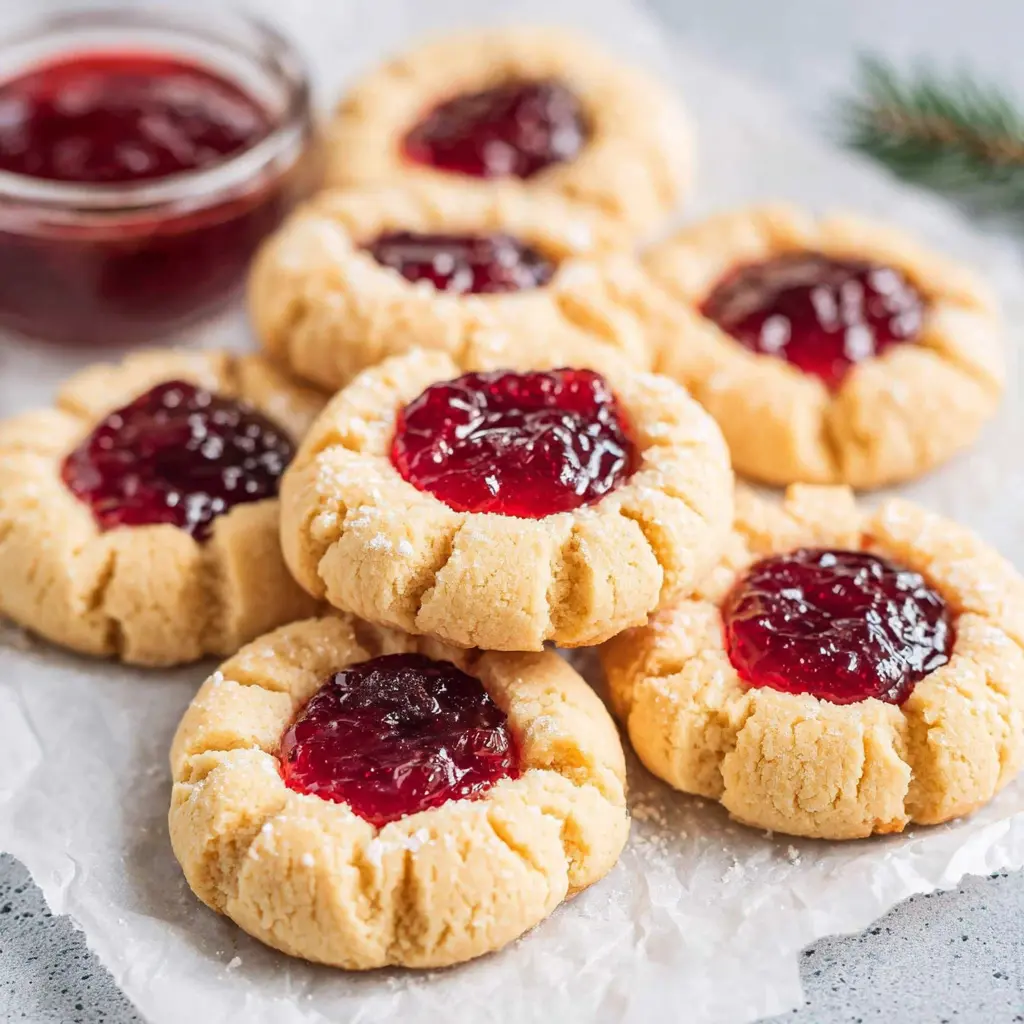
Nothing captures the magic of Christmas quite like the aroma of freshly baked cookies wafting through the house. Growing up, my grandmother’s kitchen was the heart of our holiday celebrations, and among all her treasured recipes, her soft Christmas thumbprint cookies held a special place. These delightful treats, with their tender, buttery base and jewel-toned jam centers, looked like tiny edible ornaments scattered across her cookie platters.
What makes these soft Christmas thumbprint cookies truly special is their melt-in-your-mouth texture that sets them apart from traditional crispy versions. The secret lies in the perfect balance of butter and cream cheese, creating cookies that are impossibly tender yet sturdy enough to hold their precious jam centers without cracking or spreading too much during baking.
These cookies have roots in European baking traditions, where thumbprint cookies (known as “hallongrotta” in Sweden) were often filled with homemade preserves. The beauty of this recipe lies not just in its simplicity, but in how it brings families together during the holiday season, creating memories one batch at a time.
Ingredients List
The magic of these soft Christmas thumbprint cookies comes from quality ingredients working in perfect harmony. Each component plays a crucial role in achieving that signature tender texture and rich flavor.
For the Cookie Base:
- 1 cup (226g) unsalted butter, room temperature
- 4 oz cream cheese, softened
- 2/3 cup granulated sugar
- 1 large egg yolk
- 1 teaspoon vanilla extract
- 1/4 teaspoon almond extract (optional, but adds wonderful depth)
- 2 cups all-purpose flour
- 1/2 teaspoon salt
- 1/4 teaspoon baking powder
For the Centers:
- 1/2 cup high-quality jam or preserves (raspberry, strawberry, or apricot work beautifully)
- Powdered sugar for dusting (optional)
Smart Substitutions:
For those with dietary restrictions, you can substitute the all-purpose flour with a 1:1 gluten-free baking flour blend. If avoiding dairy, use vegan butter and cream cheese alternatives, though the texture will be slightly different. The almond extract can be replaced with additional vanilla if preferred, and sugar-free jam works well for those watching their sugar intake.
Timing
Planning your baking schedule makes the entire process enjoyable and stress-free. These soft Christmas thumbprint cookies require minimal active time, making them perfect for busy holiday schedules.
Time Breakdown:
- Preparation time: 20 minutes
- Chilling time: 30 minutes (crucial for easy handling)
- Baking time: 12-15 minutes per batch
- Total time: Approximately 1.5 hours
Time-Saving Tips:
The dough can be prepared up to two days in advance and refrigerated, or even frozen for up to three months. If making multiple batches, prepare the dough while your first batch bakes. The cookies also freeze beautifully after baking, so consider making a double batch for future entertaining or gift-giving.
How to Make It
1. Prepare Your Workspace
Begin by preheating your oven to 350°F (175°C) and lining two large baking sheets with parchment paper. This temperature ensures the cookies bake gently, maintaining their soft texture while developing a light golden bottom. Having your workspace organized with all ingredients measured and tools ready makes the process smooth and enjoyable.
2. Create the Creamy Base
In a large mixing bowl, cream together the softened butter and cream cheese using an electric mixer until the mixture is light and fluffy, about 3-4 minutes. This step is crucial for achieving the signature tenderness of these soft Christmas thumbprint cookies. Add the granulated sugar and continue beating until well combined and slightly increased in volume.
3. Add the Flavor Elements
Beat in the egg yolk, vanilla extract, and almond extract (if using) until fully incorporated. The mixture should look smooth and creamy. These flavor additions create depth and richness that elevates these cookies beyond ordinary thumbprints.
4. Combine the Dry Ingredients
In a separate bowl, whisk together the flour, salt, and baking powder. Gradually add this mixture to the butter mixture, mixing on low speed just until the dough comes together. Avoid overmixing, as this can lead to tough cookies rather than the desired soft texture.
5. Chill the Dough
Wrap the dough in plastic wrap and refrigerate for at least 30 minutes. This chilling step is essential – it firms up the dough, making it easier to handle and helping the cookies maintain their shape during baking.
6. Shape and Create Thumbprints
Remove the dough from the refrigerator and roll it into 1.5-inch balls, placing them about 2 inches apart on your prepared baking sheets. Using your thumb or the back of a small spoon, create indentations in the center of each cookie. Make them deep enough to hold the jam but not so deep that they go through to the bottom.
7. Fill with Jam
Carefully spoon about 1/2 teaspoon of your chosen jam into each indentation. Don’t overfill, as the jam may bubble over during baking. The contrast between the pale cookie dough and colorful jam creates that beautiful jeweled appearance these cookies are known for.
8. Bake to Perfection
Bake for 12-15 minutes, or until the edges are set and the bottoms are lightly golden. The tops should remain pale – this indicates the soft texture we’re after. The jam will bubble slightly during baking, which is perfectly normal.
9. Cool and Finish
Allow the cookies to cool on the baking sheet for 5 minutes before transferring to a wire rack. This brief resting period prevents them from breaking apart while still warm. Once completely cool, you can dust with powdered sugar for an elegant finishing touch.
Nutritional Information
Each soft Christmas thumbprint cookie contains approximately 120-140 calories, depending on the type of jam used. These treats provide a moderate amount of healthy fats from the butter and cream cheese, along with carbohydrates for quick energy.
The cookies contain small amounts of protein from the egg yolk and flour, while the jam centers contribute natural fruit sugars and trace amounts of vitamins from the fruit. When enjoyed as part of a balanced diet, these cookies can certainly fit into holiday celebrations without guilt.
For those monitoring their intake, one cookie provides a satisfying portion that delivers both flavor and texture satisfaction, potentially reducing the urge to overindulge.
Healthier Alternatives for the Recipe
Transform these soft Christmas thumbprint cookies into lighter versions without sacrificing too much of their beloved character. Replace half the butter with unsweetened applesauce for reduced calories and added moisture. This substitution creates slightly more cake-like cookies while maintaining tenderness.
For gluten-free needs, almond flour combined with a gluten-free flour blend creates delicious results with a subtle nutty flavor. Use a 1:1 ratio of gluten-free flour blend in place of all-purpose flour.
Sugar-conscious bakers can reduce the granulated sugar to 1/2 cup and use sugar-free jam in the centers. Natural sweeteners like coconut sugar work well, though they’ll add a subtle caramel note to the flavor profile.
Vegan adaptations work beautifully using plant-based butter and cream cheese alternatives. The texture will be slightly different but equally delicious.

Serving Suggestions
These soft Christmas thumbprint cookies shine as part of a diverse holiday cookie platter alongside gingerbread cookies, shortbread, and chocolate crinkles. Their colorful jam centers add visual appeal that brightens any dessert spread.
Serve them with hot cocoa, mulled cider, or coffee for a cozy afternoon treat. For elegant entertaining, arrange them on tiered serving stands with small doilies for a bakery-worthy presentation.
Consider creating variety by using different jam flavors within the same batch – raspberry, apricot, and strawberry create a beautiful rainbow effect. Package them in clear containers tied with ribbons for thoughtful homemade gifts that neighbors and friends will treasure.
For special occasions, dust them lightly with powdered sugar just before serving, or drizzle cooled cookies with a simple glaze made from powdered sugar and milk.
Common Mistakes to Avoid
The most frequent error when making soft Christmas thumbprint cookies is using cold butter and cream cheese. Room temperature dairy ingredients cream together properly, creating the light, tender texture these cookies are known for. Plan ahead and remove them from the refrigerator at least an hour before baking.
Overfilling the jam centers leads to messy overflow during baking. Start with less jam than you think you need – about 1/2 teaspoon is perfect. You can always add a touch more after baking if desired.
Skipping the chilling step results in cookies that spread too much and lose their defined thumbprint shape. The brief 30-minute rest makes handling much easier and ensures better results.
Overbaking is another common pitfall. These cookies should remain pale on top with just lightly golden bottoms. They’ll continue cooking slightly on the hot pan after removal from the oven.
Storing Tips for the Recipe
Store your soft Christmas thumbprint cookies in an airtight container at room temperature for up to one week. Layer them between sheets of parchment paper to prevent sticking and maintain their delicate texture.
For longer storage, these cookies freeze beautifully for up to three months. Place them in a single layer on a baking sheet until frozen solid, then transfer to freezer-safe containers. Thaw at room temperature for about 30 minutes before serving.
The unbaked dough can be prepared and refrigerated for up to three days, or frozen for up to three months. If freezing dough, wrap it tightly and thaw overnight in the refrigerator before shaping and baking.
Avoid storing these cookies with crispy cookies, as they’ll absorb moisture and lose their desired texture contrast.
Conclusion
These soft Christmas thumbprint cookies represent everything wonderful about holiday baking – they’re approachable for beginners yet impressive enough for experienced bakers, they create beautiful memories during the making process, and they deliver incredible flavor in every bite.
The combination of tender, buttery cookie base with bright, fruity jam centers makes them irresistible to both children and adults. They’re perfect for cookie exchanges, gift-giving, or simply enjoying with family around the Christmas tree.
Don’t wait for the perfect moment to try this recipe – gather your ingredients, involve the family in the thumbprint-making process, and create some delicious holiday memories together.
FAQs
Can I make the dough ahead of time?
Absolutely! The dough can be prepared up to three days in advance and stored in the refrigerator, or frozen for up to three months. Just remember to let frozen dough thaw overnight in the refrigerator before using.
What’s the best jam to use for the centers?
High-quality preserves with visible fruit pieces work best as they hold their shape during baking. Raspberry, strawberry, and apricot are traditional favorites, but feel free to experiment with unique flavors like fig or cherry.
Why did my cookies spread too much during baking?
This usually happens when the dough is too warm or the butter was too soft when mixing. Always chill the dough for at least 30 minutes, and ensure your butter is at proper room temperature (soft but not melted) when creaming.
Can I use different extracts instead of vanilla and almond?
Certainly! Lemon extract creates bright, citrusy cookies that pair beautifully with berry jams, while orange extract complements apricot preserves perfectly. Start with half the amount and adjust to taste.
How do I prevent the jam from bubbling over?
Use less jam than you think you need – about 1/2 teaspoon per cookie is perfect. Also, make sure your thumbprint indentations are deep enough to contain the jam but not so deep they go through the cookie bottom.
What should I do if my cookies turned out too hard?
Store them with a slice of fresh bread in an airtight container for 24 hours. The cookies will absorb moisture from the bread and soften considerably. Remove the bread before serving.

Soft Christmas Thumbprint Cookies Recipe with Jam Centers
- Total Time: 1.5 hours
- Yield: 15 Cookies 1x
Description
Nothing captures the magic of Christmas quite like the aroma of freshly baked cookies wafting through the house. Growing up, my grandmother’s kitchen was the heart of our holiday celebrations, and among all her treasured recipes
Ingredients
The magic of these soft Christmas thumbprint cookies comes from quality ingredients working in perfect harmony. Each component plays a crucial role in achieving that signature tender texture and rich flavor.
For the Cookie Base:
- 1 cup (226g) unsalted butter, room temperature
- 4 oz cream cheese, softened
- 2/3 cup granulated sugar
- 1 large egg yolk
- 1 teaspoon vanilla extract
- 1/4 teaspoon almond extract (optional, but adds wonderful depth)
- 2 cups all-purpose flour
- 1/2 teaspoon salt
- 1/4 teaspoon baking powder
For the Centers:
- 1/2 cup high-quality jam or preserves (raspberry, strawberry, or apricot work beautifully)
- Powdered sugar for dusting (optional)
Smart Substitutions:
For those with dietary restrictions, you can substitute the all-purpose flour with a 1:1 gluten-free baking flour blend. If avoiding dairy, use vegan butter and cream cheese alternatives, though the texture will be slightly different. The almond extract can be replaced with additional vanilla if preferred, and sugar-free jam works well for those watching their sugar intake.
Instructions
Begin by preheating your oven to 350°F (175°C) and lining two large baking sheets with parchment paper. This temperature ensures the cookies bake gently, maintaining their soft texture while developing a light golden bottom. Having your workspace organized with all ingredients measured and tools ready makes the process smooth and enjoyable.
In a large mixing bowl, cream together the softened butter and cream cheese using an electric mixer until the mixture is light and fluffy, about 3-4 minutes. This step is crucial for achieving the signature tenderness of these soft Christmas thumbprint cookies. Add the granulated sugar and continue beating until well combined and slightly increased in volume.
Beat in the egg yolk, vanilla extract, and almond extract (if using) until fully incorporated. The mixture should look smooth and creamy. These flavor additions create depth and richness that elevates these cookies beyond ordinary thumbprints.
In a separate bowl, whisk together the flour, salt, and baking powder. Gradually add this mixture to the butter mixture, mixing on low speed just until the dough comes together. Avoid overmixing, as this can lead to tough cookies rather than the desired soft texture.
Wrap the dough in plastic wrap and refrigerate for at least 30 minutes. This chilling step is essential – it firms up the dough, making it easier to handle and helping the cookies maintain their shape during baking.
Remove the dough from the refrigerator and roll it into 1.5-inch balls, placing them about 2 inches apart on your prepared baking sheets. Using your thumb or the back of a small spoon, create indentations in the center of each cookie. Make them deep enough to hold the jam but not so deep that they go through to the bottom.
Carefully spoon about 1/2 teaspoon of your chosen jam into each indentation. Don’t overfill, as the jam may bubble over during baking. The contrast between the pale cookie dough and colorful jam creates that beautiful jeweled appearance these cookies are known for.
Bake for 12-15 minutes, or until the edges are set and the bottoms are lightly golden. The tops should remain pale – this indicates the soft texture we’re after. The jam will bubble slightly during baking, which is perfectly normal.
Allow the cookies to cool on the baking sheet for 5 minutes before transferring to a wire rack. This brief resting period prevents them from breaking apart while still warm. Once completely cool, you can dust with powdered sugar for an elegant finishing touch.
Nutrition
- Calories: 120-140